Motion Planning API

In MoveIt, the motion planners are loaded using a plugin infrastructure. This allows MoveIt to load motion planners at runtime. In this example, we will run through the C++ code required to do this.
Getting Started
If you haven’t already done so, make sure you’ve completed the steps in Getting Started.
Running the Demo
Open two shells. In the first shell start RViz and wait for everything to finish loading:
roslaunch panda_moveit_config demo.launch
In the second shell, run the launch file:
roslaunch moveit_tutorials motion_planning_api_tutorial.launch
Note: This tutorial uses the RvizVisualToolsGui panel to step through the demo. To add this panel to RViz, follow the instructions in the Visualization Tutorial.
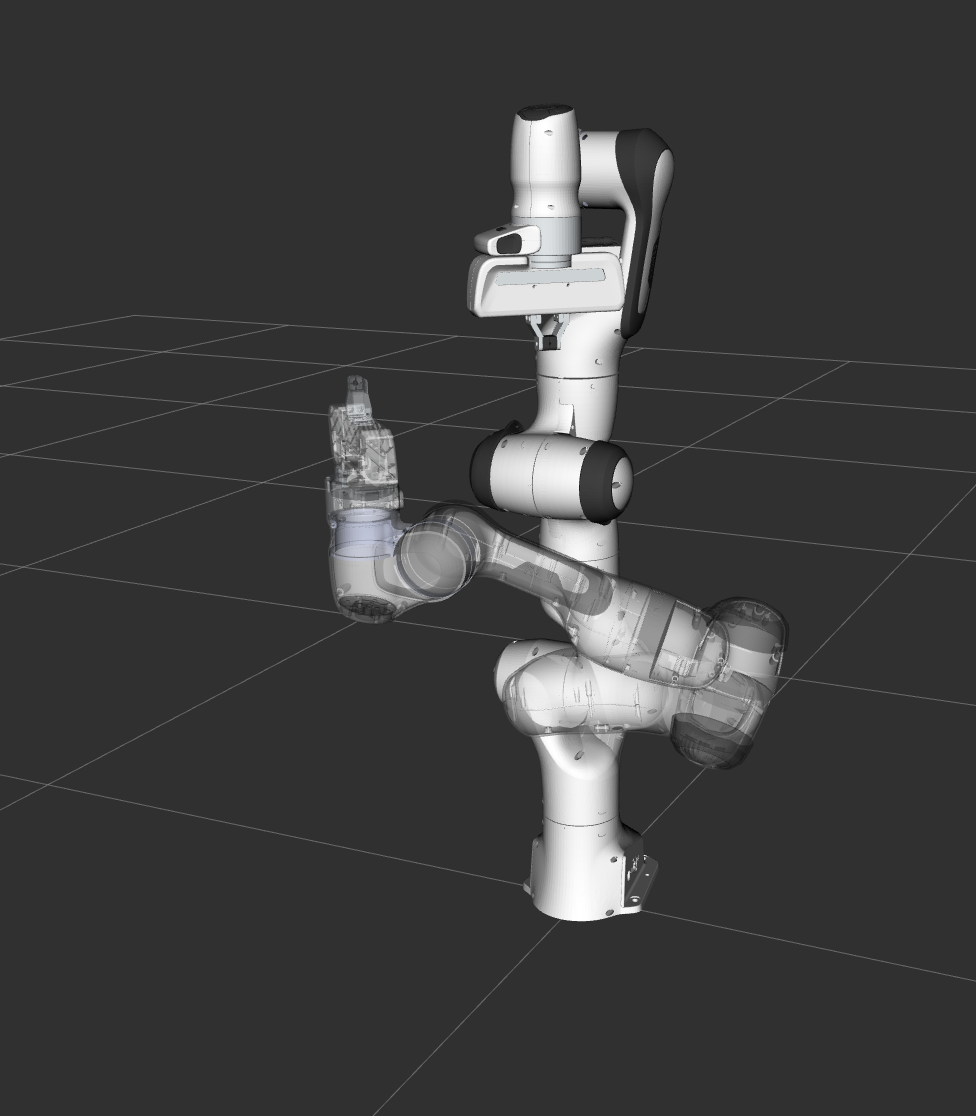
After a short moment, the RViz window should appear and look similar to the one at the top of this page. To progress through each demo step either press the Next button in the RvizVisualToolsGui panel at the bottom of the screen or select Key Tool in the Tools panel at the top of the screen and then press N on your keyboard while RViz is focused.
Expected Output
In RViz, we should be able to see four trajectories being replayed eventually:
The robot moves its arm to the first pose goal,
The robot moves its arm to the joint goal,
The robot moves its arm back to the original pose goal,
The robot moves its arm to a new pose goal while maintaining the end-effector level.

The Entire Code
The entire code can be seen here in the moveit_tutorials GitHub project.
Start
Setting up to start using a planner is pretty easy. Planners are setup as plugins in MoveIt and you can use the ROS pluginlib interface to load any planner that you want to use. Before we can load the planner, we need two objects, a RobotModel and a PlanningScene. We will start by instantiating a RobotModelLoader object, which will look up the robot description on the ROS parameter server and construct a RobotModel for us to use.
const std::string PLANNING_GROUP = "panda_arm";
robot_model_loader::RobotModelLoader robot_model_loader("robot_description");
robot_model::RobotModelPtr robot_model = robot_model_loader.getModel();
/* Create a RobotState and JointModelGroup to keep track of the current robot pose and planning group*/
robot_state::RobotStatePtr robot_state(new robot_state::RobotState(robot_model));
const robot_state::JointModelGroup* joint_model_group = robot_state->getJointModelGroup(PLANNING_GROUP);
Using the RobotModel, we can construct a PlanningScene that maintains the state of the world (including the robot).
planning_scene::PlanningScenePtr planning_scene(new planning_scene::PlanningScene(robot_model));
Configure a valid robot state
planning_scene->getCurrentStateNonConst().setToDefaultValues(joint_model_group, "ready");
We will now construct a loader to load a planner, by name. Note that we are using the ROS pluginlib library here.
boost::scoped_ptr<pluginlib::ClassLoader<planning_interface::PlannerManager>> planner_plugin_loader;
planning_interface::PlannerManagerPtr planner_instance;
std::string planner_plugin_name;
We will get the name of planning plugin we want to load from the ROS parameter server, and then load the planner making sure to catch all exceptions.
if (!node_handle.getParam("planning_plugin", planner_plugin_name))
  ROS_FATAL_STREAM("Could not find planner plugin name");
try
{
  planner_plugin_loader.reset(new pluginlib::ClassLoader<planning_interface::PlannerManager>(
      "moveit_core", "planning_interface::PlannerManager"));
}
catch (pluginlib::PluginlibException& ex)
{
  ROS_FATAL_STREAM("Exception while creating planning plugin loader " << ex.what());
}
try
{
  planner_instance.reset(planner_plugin_loader->createUnmanagedInstance(planner_plugin_name));
  if (!planner_instance->initialize(robot_model, node_handle.getNamespace()))
    ROS_FATAL_STREAM("Could not initialize planner instance");
  ROS_INFO_STREAM("Using planning interface '" << planner_instance->getDescription() << "'");
}
catch (pluginlib::PluginlibException& ex)
{
  const std::vector<std::string>& classes = planner_plugin_loader->getDeclaredClasses();
  std::stringstream ss;
  for (std::size_t i = 0; i < classes.size(); ++i)
    ss << classes[i] << " ";
  ROS_ERROR_STREAM("Exception while loading planner '" << planner_plugin_name << "': " << ex.what() << std::endl
                                                       << "Available plugins: " << ss.str());
}
Visualization
The package MoveItVisualTools provides many capabilties for visualizing objects, robots, and trajectories in RViz as well as debugging tools such as step-by-step introspection of a script
namespace rvt = rviz_visual_tools;
moveit_visual_tools::MoveItVisualTools visual_tools("panda_link0");
visual_tools.loadRobotStatePub("/display_robot_state");
visual_tools.enableBatchPublishing();
visual_tools.deleteAllMarkers();  // clear all old markers
visual_tools.trigger();

/* Remote control is an introspection tool that allows users to step through a high level script
   via buttons and keyboard shortcuts in RViz */
visual_tools.loadRemoteControl();

/* RViz provides many types of markers, in this demo we will use text, cylinders, and spheres*/
Eigen::Affine3d text_pose = Eigen::Affine3d::Identity();
text_pose.translation().z() = 1.75;
visual_tools.publishText(text_pose, "Motion Planning API Demo", rvt::WHITE, rvt::XLARGE);

/* Batch publishing is used to reduce the number of messages being sent to RViz for large visualizations */
visual_tools.trigger();

/* We can also use visual_tools to wait for user input */
visual_tools.prompt("Press 'next' in the RvizVisualToolsGui window to start the demo");
Pose Goal
We will now create a motion plan request for the arm of the Panda specifying the desired pose of the end-effector as input.
visual_tools.publishRobotState(planning_scene->getCurrentStateNonConst(), rviz_visual_tools::GREEN);
visual_tools.trigger();
planning_interface::MotionPlanRequest req;
planning_interface::MotionPlanResponse res;
geometry_msgs::PoseStamped pose;
pose.header.frame_id = "panda_link0";
pose.pose.position.x = 0.3;
pose.pose.position.y = 0.4;
pose.pose.position.z = 0.75;
pose.pose.orientation.w = 1.0;
A tolerance of 0.01 m is specified in position and 0.01 radians in orientation
std::vector<double> tolerance_pose(3, 0.01);
std::vector<double> tolerance_angle(3, 0.01);
We will create the request as a constraint using a helper function available from the kinematic_constraints package.
moveit_msgs::Constraints pose_goal =
    kinematic_constraints::constructGoalConstraints("panda_link8", pose, tolerance_pose, tolerance_angle);

req.group_name = PLANNING_GROUP;
req.goal_constraints.push_back(pose_goal);
We now construct a planning context that encapsulate the scene, the request and the response. We call the planner using this planning context
planning_interface::PlanningContextPtr context =
    planner_instance->getPlanningContext(planning_scene, req, res.error_code_);
context->solve(res);
if (res.error_code_.val != res.error_code_.SUCCESS)
{
  ROS_ERROR("Could not compute plan successfully");
  return 0;
}
Visualize the result
ros::Publisher display_publisher =
    node_handle.advertise<moveit_msgs::DisplayTrajectory>("/move_group/display_planned_path", 1, true);
moveit_msgs::DisplayTrajectory display_trajectory;

/* Visualize the trajectory */
moveit_msgs::MotionPlanResponse response;
res.getMessage(response);

display_trajectory.trajectory_start = response.trajectory_start;
display_trajectory.trajectory.push_back(response.trajectory);
visual_tools.publishTrajectoryLine(display_trajectory.trajectory.back(), joint_model_group);
visual_tools.trigger();
display_publisher.publish(display_trajectory);

/* Set the state in the planning scene to the final state of the last plan */
robot_state->setJointGroupPositions(joint_model_group, response.trajectory.joint_trajectory.points.back().positions);
planning_scene->setCurrentState(*robot_state.get());
Display the goal state
visual_tools.publishRobotState(planning_scene->getCurrentStateNonConst(), rviz_visual_tools::GREEN);
visual_tools.publishAxisLabeled(pose.pose, "goal_1");
visual_tools.publishText(text_pose, "Pose Goal (1)", rvt::WHITE, rvt::XLARGE);
visual_tools.trigger();

/* We can also use visual_tools to wait for user input */
visual_tools.prompt("Press 'next' in the RvizVisualToolsGui window to continue the demo");
Joint Space Goals
Now, setup a joint space goal
robot_state::RobotState goal_state(robot_model);
std::vector<double> joint_values = { -1.0, 0.7, 0.7, -1.5, -0.7, 2.0, 0.0 };
goal_state.setJointGroupPositions(joint_model_group, joint_values);
moveit_msgs::Constraints joint_goal = kinematic_constraints::constructGoalConstraints(goal_state, joint_model_group);
req.goal_constraints.clear();
req.goal_constraints.push_back(joint_goal);
Call the planner and visualize the trajectory
/* Re-construct the planning context */
context = planner_instance->getPlanningContext(planning_scene, req, res.error_code_);
/* Call the Planner */
context->solve(res);
/* Check that the planning was successful */
if (res.error_code_.val != res.error_code_.SUCCESS)
{
  ROS_ERROR("Could not compute plan successfully");
  return 0;
}
/* Visualize the trajectory */
res.getMessage(response);
display_trajectory.trajectory.push_back(response.trajectory);

/* Now you should see two planned trajectories in series*/
visual_tools.publishTrajectoryLine(display_trajectory.trajectory.back(), joint_model_group);
visual_tools.trigger();
display_publisher.publish(display_trajectory);

/* We will add more goals. But first, set the state in the planning
   scene to the final state of the last plan */
robot_state->setJointGroupPositions(joint_model_group, response.trajectory.joint_trajectory.points.back().positions);
planning_scene->setCurrentState(*robot_state.get());
Display the goal state
visual_tools.publishRobotState(planning_scene->getCurrentStateNonConst(), rviz_visual_tools::GREEN);
visual_tools.publishAxisLabeled(pose.pose, "goal_2");
visual_tools.publishText(text_pose, "Joint Space Goal (2)", rvt::WHITE, rvt::XLARGE);
visual_tools.trigger();

/* Wait for user input */
visual_tools.prompt("Press 'next' in the RvizVisualToolsGui window to continue the demo");

/* Now, we go back to the first goal to prepare for orientation constrained planning */
req.goal_constraints.clear();
req.goal_constraints.push_back(pose_goal);
context = planner_instance->getPlanningContext(planning_scene, req, res.error_code_);
context->solve(res);
res.getMessage(response);

display_trajectory.trajectory.push_back(response.trajectory);
visual_tools.publishTrajectoryLine(display_trajectory.trajectory.back(), joint_model_group);
visual_tools.trigger();
display_publisher.publish(display_trajectory);

/* Set the state in the planning scene to the final state of the last plan */
robot_state->setJointGroupPositions(joint_model_group, response.trajectory.joint_trajectory.points.back().positions);
planning_scene->setCurrentState(*robot_state.get());
Display the goal state
visual_tools.publishRobotState(planning_scene->getCurrentStateNonConst(), rviz_visual_tools::GREEN);
visual_tools.trigger();

/* Wait for user input */
visual_tools.prompt("Press 'next' in the RvizVisualToolsGui window to continue the demo");
Adding Path Constraints
Let’s add a new pose goal again. This time we will also add a path constraint to the motion.
/* Let's create a new pose goal */

pose.pose.position.x = 0.32;
pose.pose.position.y = -0.25;
pose.pose.position.z = 0.65;
pose.pose.orientation.w = 1.0;
moveit_msgs::Constraints pose_goal_2 =
    kinematic_constraints::constructGoalConstraints("panda_link8", pose, tolerance_pose, tolerance_angle);

/* Now, let's try to move to this new pose goal*/
req.goal_constraints.clear();
req.goal_constraints.push_back(pose_goal_2);

/* But, let's impose a path constraint on the motion.
   Here, we are asking for the end-effector to stay level*/
geometry_msgs::QuaternionStamped quaternion;
quaternion.header.frame_id = "panda_link0";
quaternion.quaternion.w = 1.0;
req.path_constraints = kinematic_constraints::constructGoalConstraints("panda_link8", quaternion);
Imposing path constraints requires the planner to reason in the space of possible positions of the end-effector (the workspace of the robot) because of this, we need to specify a bound for the allowed planning volume as well; Note: a default bound is automatically filled by the WorkspaceBounds request adapter (part of the OMPL pipeline, but that is not being used in this example). We use a bound that definitely includes the reachable space for the arm. This is fine because sampling is not done in this volume when planning for the arm; the bounds are only used to determine if the sampled configurations are valid.
req.workspace_parameters.min_corner.x = req.workspace_parameters.min_corner.y =
    req.workspace_parameters.min_corner.z = -2.0;
req.workspace_parameters.max_corner.x = req.workspace_parameters.max_corner.y =
    req.workspace_parameters.max_corner.z = 2.0;
Call the planner and visualize all the plans created so far.
context = planner_instance->getPlanningContext(planning_scene, req, res.error_code_);
context->solve(res);
res.getMessage(response);
display_trajectory.trajectory.push_back(response.trajectory);
visual_tools.publishTrajectoryLine(display_trajectory.trajectory.back(), joint_model_group);
visual_tools.trigger();
display_publisher.publish(display_trajectory);

/* Set the state in the planning scene to the final state of the last plan */
robot_state->setJointGroupPositions(joint_model_group, response.trajectory.joint_trajectory.points.back().positions);
planning_scene->setCurrentState(*robot_state.get());
Display the goal state
visual_tools.publishRobotState(planning_scene->getCurrentStateNonConst(), rviz_visual_tools::GREEN);
visual_tools.publishAxisLabeled(pose.pose, "goal_3");
visual_tools.publishText(text_pose, "Orientation Constrained Motion Plan (3)", rvt::WHITE, rvt::XLARGE);
visual_tools.trigger();
Open Source Feedback
See something that needs improvement? Please open a pull request on this GitHub page